
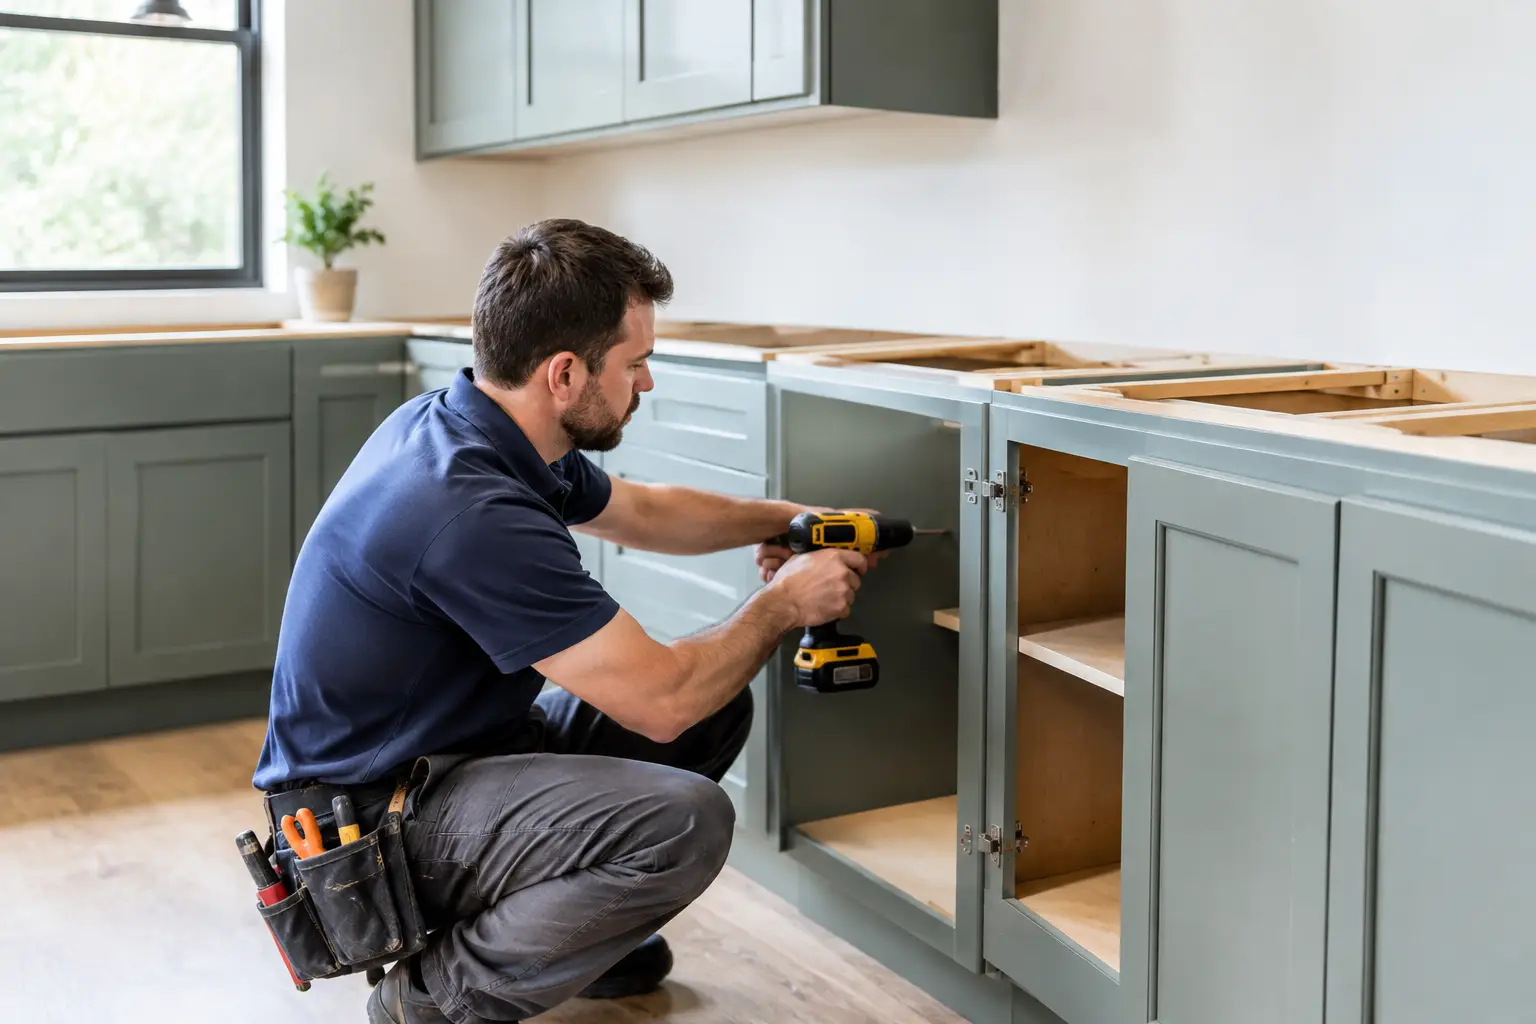
A finished cabinet drawing can make a room feel close to complete. The actual transformation, however, depends on what happens after the drawings are approved. A well-managed custom cabinet installation process turns tailored woodwork into a kitchen, mudroom, vanity, or built-in that sits true, functions properly, and looks intentional from every angle.
For made-to-order cabinetry, installation is not simply a delivery appointment. It is a careful fitting stage where the room, the cabinetry, and the many small decisions behind both have to come together. Walls are rarely perfectly straight. Floors can vary across a room. Existing trim, appliance specifications, plumbing locations, and countertop requirements all matter. The difference is in how those realities are anticipated and handled.
The Work Begins Before Cabinets Arrive
Installation quality starts with planning. During the design phase, cabinet dimensions are developed around how a household uses the room: where groceries land, how cooking tools are stored, which doors need clearance, and what deserves to stay within easy reach. Details such as a pull-out spice cabinet beside the range, deep drawers for cookware, a charging drawer, or a tall pantry with adjustable storage are considered before manufacturing begins.
A final site measure is an essential part of that preparation. This is where field dimensions are confirmed against the approved design, particularly in renovation projects where framing, drywall, flooring, or mechanical work may have changed the available space. Appliance cut sheets, sink specifications, finished flooring thickness, and countertop plans should also be settled as early as possible.
Custom work allows cabinetry to respond to the room rather than forcing the room to accept standard sizes. That flexibility is valuable, but it also requires coordination. If a range shifts by an inch, a backsplash detail changes, or a wall is opened to reveal an unexpected condition, the installation plan may need to adjust. Clear communication before fabrication protects the fit and prevents rushed compromises later.
Preparing the Room for Cabinet Installation
The room should be ready before the installation team arrives. In a kitchen, old cabinets, appliances, and loose debris need to be removed. Flooring, drywall, electrical rough-ins, plumbing, and any required painting are typically completed according to the project schedule. The precise order can vary. For example, some flooring is installed before cabinets, while other projects leave flooring out beneath fixed cabinets to manage material use and floor height.
What matters is that the decision is made deliberately. A cabinet installer needs stable, reasonably finished surfaces and accurate locations for utilities. Electrical boxes should be placed with cabinet interiors, lighting, and appliance requirements in mind. Plumbing for a sink base needs to land where it can be accessed without weakening a cabinet structure or sacrificing useful storage.
The room also needs a clear path for delivery. Custom cabinets are substantial pieces, especially tall pantry units, one-piece islands, and large built-ins. Protecting finished floors, clearing hallways, and reserving a nearby staging area help the day run smoothly. In an occupied home, thoughtful containment of dust and traffic is part of respectful work.
What Happens During the Custom Cabinet Installation Process
The installation team begins by reviewing the room and establishing a level reference line. This step is more significant than it may appear. Few floors and walls are perfectly level, plumb, or square, even in newer homes. Cabinets are set to a controlled line so doors align, drawers operate correctly, and countertops have the support they need.
Base cabinets are typically positioned first, beginning at a key corner or a cabinet that establishes the room layout. Each cabinet is leveled, shimmed where necessary, secured to appropriate framing, and joined to the next cabinet with careful attention to face alignment. A small error at the first cabinet can multiply across a long wall, so the work proceeds methodically.
Wall cabinets are installed to the confirmed layout and secured into structural backing. Their height is determined by the design, appliance clearances, backsplash plans, and the intended visual proportion of the room. A standard spacing is not always the right answer. A room with a dramatic range hood, stacked cabinets, integrated lighting, or a tall ceiling may call for a different approach.
Islands receive the same attention, with additional focus on anchoring and access to electrical service. A large custom island may include seating, deep drawers, waste pull-outs, shelving, or a microwave cabinet. It needs to feel solid under daily use while maintaining the clearances needed for traffic and appliance doors.
Once cabinet boxes are secured, doors, drawer fronts, panels, fillers, crown molding, light valances, and other finishing components are fitted. This is where custom cabinetry begins to show its full character. A painted pantry needs clean, even reveals. Walnut panels need grain and color continuity. A sculpted door profile or a carefully matched island finish deserves precise alignment, not a quick final pass.
Fitting Around Real-World Conditions
A skilled installer does not assume the room will behave like a drawing. Scribing is often needed where cabinetry meets an uneven wall or ceiling. Rather than leaving an oversized gap, a filler or finished panel is carefully shaped to follow the condition while preserving a clean reveal.
This is particularly important with full-height pantries, built-in bookcases, mudroom lockers, and bathroom vanities installed against older walls. The goal is not to hide every characteristic of the home. It is to make the cabinetry look considered within it.
There are trade-offs. Tight, minimalist reveals create a refined appearance but leave less room to absorb significant wall variation. Decorative moldings can soften transitions and suit a more traditional room, but they also add visual detail. The right solution depends on the architecture, finish style, and the homeowner’s preferences.
Countertops, Appliances, and Final Adjustments
Cabinet installation is often followed by a countertop template appointment. The installed bases provide the exact reference for stone, solid surface, or other countertop materials. After the countertop is fabricated and installed, sinks, faucets, appliances, and backsplash work can move forward according to the renovation schedule.
A proper final adjustment happens after the room has had time to come together. Doors and drawers are aligned, hinges are tuned, and hardware is checked for consistent placement and operation. Soft-close drawer slides should move smoothly. Pull-outs should clear adjacent doors. Integrated appliances should sit within the designed gaps. Lighting, if included within the cabinetry, should be tested with the finished room in mind.
At FehrCo, the same attention paid to material selection and finish matching carries through to this final stage. It is where a maple island, painted perimeter cabinets, or a carefully finished vanity becomes more than a collection of parts. It becomes dependable daily furniture for the home.
What Homeowners Can Expect After Installation
New cabinetry benefits from a short settling-in period. Homes naturally expand and contract with seasonal temperature and humidity changes, especially in regions with distinct winters and humid summers. Minor hinge or drawer adjustments may be appropriate as the space acclimates and the rest of the renovation is completed.
Before the project is considered complete, homeowners should know how to care for the finish and hardware. Most cabinet finishes need only a soft cloth, mild soap, and water when necessary. Abrasive cleaners, harsh chemicals, and excessive moisture can damage painted surfaces, wood finishes, and protective topcoats. Water around a sink, dishwasher, or bathroom vanity should be wiped promptly.
It is also worthwhile to walk through the storage with real household items. Pots may belong in a different drawer than originally expected. A pantry shelf may need a new height. That is the advantage of cabinetry designed for a specific home: it can be lived with thoughtfully, not merely installed.
A careful installation gives custom cabinetry its lasting finish. When every cabinet is level, every reveal is intentional, and every door closes as it should, the room is ready to support everyday life for years to come.